Crafting the perfect cup of fresh coffee is easy, convenient, and affordable with home coffee roasters. There are countless methods for roasting green coffee beans, but for those who are seeking an exciting new hobby in home roasting, those embarking on the flavor adventures of tasting different specialty coffees every day, an automatic home roasting machine makes this adventure easy and accessible .
There are two types of roasters: Fluid Bed Roasters such as the FreshRoast SR models and the new Nesco are similar to hot-air popcorn poppers, with a glass roasting chamber that makes it easy to watch and stop the cycle when beans reach the desired roast level; Drum Roasters such as the Behmor 1600 Plus and the Gene Café have a larger metal screen drum that rotates and tumbles the beans as they are roasting.
All of the home roasting equipment carried at Burman Coffee Traders is top quality, just different volumes and mechanisms to suit different needs. Fluid bed roasters are very popular because they are lower priced and able to roast a modest batch in a speedy 7-20 minutes, and they are easy to clean and maintain. We recommend the SR540 to newbies, and we have a special article all about the benefits of this easy-to-use, family-size machine.
Drum roasters allow larger batches and roast beans more evenly and consistently, and they give more control over the entire process than the simple fluid bed roasters. They are also significantly more expensive, but are a good option for anyone who wants to share or sell a few of their freshly roasted beans (but please note that none of the home roasters are designed for large-scale commercial roasting).
For any type of roaster, the basic steps are similar:

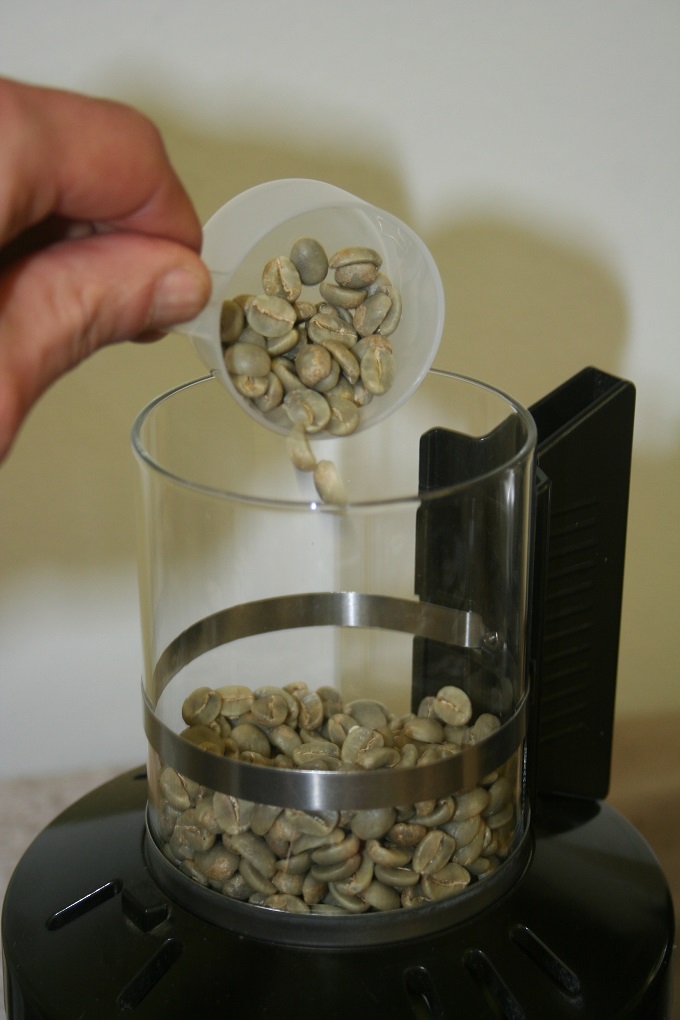
Fill the Roaster:
For best results, always fill roaster with the same measure of green coffee beans (the measure varies from roaster to roaster, it is about 3-4 ounces by weight in Nesco and FreshRoast, and 4-16 ounces in the Gene/Behmor).
With a fluid bed roaster, the more coffee you roast, the hotter it gets. However, too much coffee per batch may cause the roast to become uneven and the roaster to overheat. We recommend always staying within the manufacturer’s guidelines. With a drum roaster, the less coffee you roast, the hotter it gets and the faster the roast time. We recommend weighing your coffee precisely to get consistent results.
Set the Time or Profile:
Knowing how long the beans should be roasted is a matter of practice – different coffees have different requirements, and every machine has its own unique roasting curve. But each machine has a variety of settings – each model has a different approach to controlling the settings, and we recommend reading the appropriate user guide, listed below. For every home roaster, we recommend maintaining a Roasting Notes Journal to ensure consistency.
Watch and Listen:
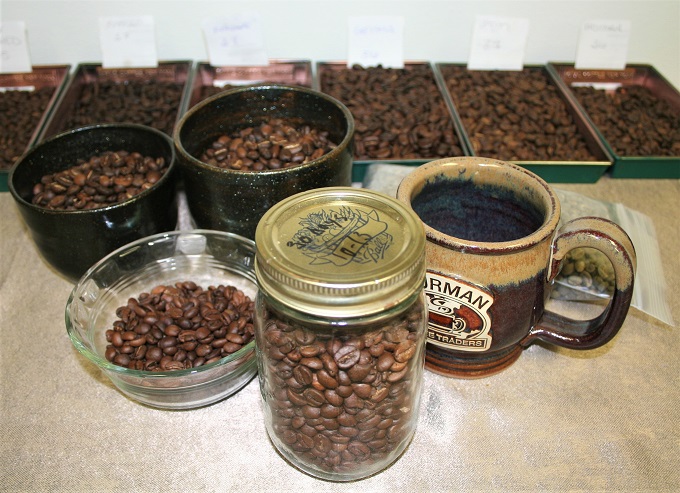
Green coffee beans gradually turn yellow, then brown, then as the roast progresses they more rapidly darken until they become black. A pleasant smell gradually rises out of the roaster, though it becomes pungent and noticeably burned and smoky if the roast goes too far.
The beans will pop or “crack” twice during the roasting process. For many home roasters, it is easy to judge correct roast level by listening to these cracks. For most beans we generally recommend aiming for a medium roast, which can be anywhere between the “first crack” and the “second crack” – anything before first crack will be underdeveloped, after second crack will be a dark roast and smoky flavors will overpower the unique nuances of special coffees. Read more about the spectrum of Coffee Roast Styles, or if you feel like you still need a little more info about how to judge when a roast is ready, read “Home Coffee Roasting for Beginners.”

Cool Down:
All home roasters also have an automatic cooling period. This allows the beans to cool enough to handle, and allows the equipment to cool and prepare for the next batch. After the cooling period, the coffee is finished roasting, but before grinding and brewing, it is best to let it “set-up” for at least 24 hours.
It cannot be overemphasized how important it is to utilize the cool cycle every time. Please remember that all of our models are home roasters, not intended for commercial scale, and it is critical to allow cool down between batches – overheating caused by too many consecutive batches may trigger thermal protection features, which will require the roaster to be reset by the manufacturer and may void the warranty.
More Roaster Use Notes:
All roasters are sensitive to your home voltage, so it helps to use a circuit that is not being used by other appliances at the same time that you are roasting. Fluctuations in voltage may cause roast times to vary, so be sure to watch carefully, especially with a new roaster.
Never leave a home coffee roaster unattended. Think of it as similar to frying bacon – it can and will burn if left unattended.
For more information, check out our ultimate guide to home coffee roasting.
DETAILED HOME COFFEE ROASTER TIPS & USER GUIDES
Follow these links for guides for each specific model of home coffee roaster.
For the convenience of all customers, we also have guides for several discontinued models.
-
- Caffe Rosto (discontinued)
- FreshRoast SR340 (discontinued)
- FreshRoast SR500 (discontinued)
- FreshRoast SR700 (discontinued)
- FreshRoast Plus “8” (discontinued)
- Hearthware I-Roast 2 (discontinued)
- Nesco Professional (discontinued)
- Nesco Home Roaster (discontinued)
- Swissmar Bravi (discontinued)
