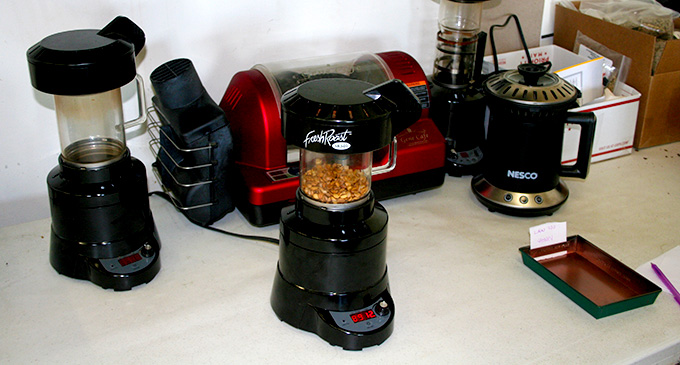
We carry several types of home coffee roasters, with different batch sizes and mechanisms to suit different needs.
Our Favorite Home Coffee Roaster
For new home roasters, we have long recommended the FreshRoast SR540, a “fluid bed” roaster which is super easy to use. Fluid bed roasters are very similar in design to the familiar hot-air popcorn poppers – minimal mechanical parts, simply a fan and a heating element – the only significant difference is a smaller (and therefore hotter) roasting chamber. See video of FreshRoast SR540 in action.
The SR540’s glass roasting chamber makes it easy to watch as the roast develops, and then stop the roast at exactly the right moment. These popular roasters are economically priced, will roast a modest amount of beans in a speedy 7-20 minutes (including cool time), and are very easy to clean and maintain. Simple, safe, and accessible, the SR540 is ideal for new home coffee roasting enthusiasts.
How to Use Your FRESHROAST SR540 Coffee Roaster
Here are the basic steps:
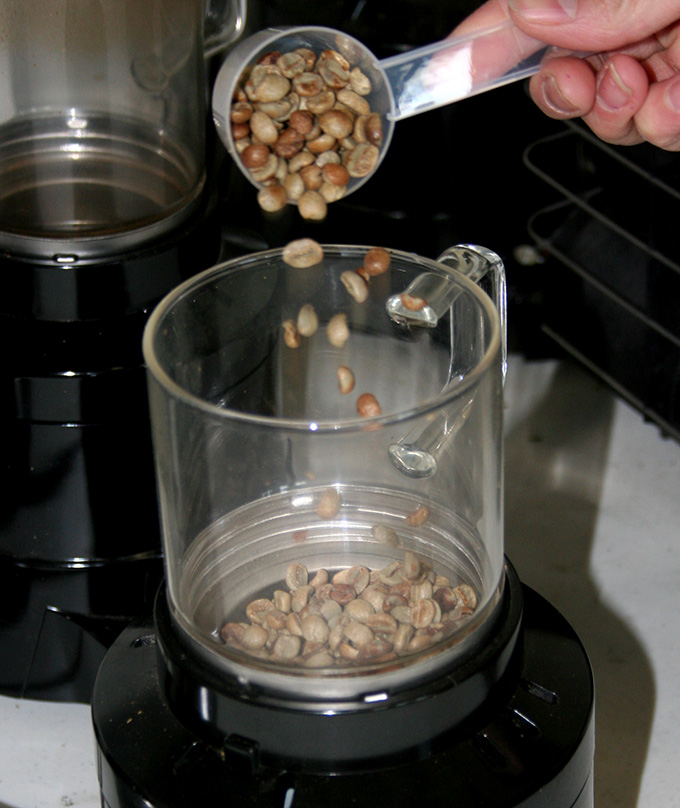
- Start with four level scoops of green coffee (about 4.5 ounces by weight).
- Remove the chaff collector, add the coffee to the roasting chamber and put the chaff collector back on.
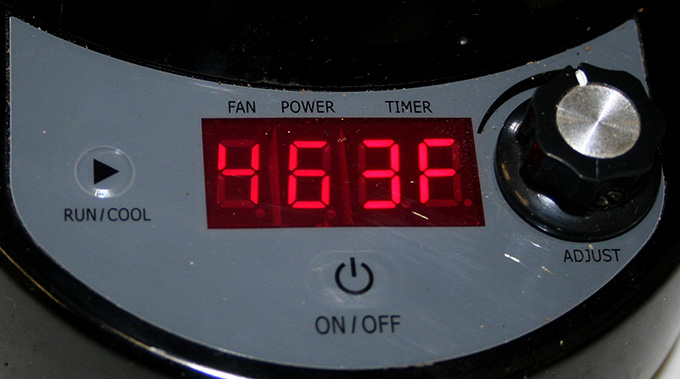
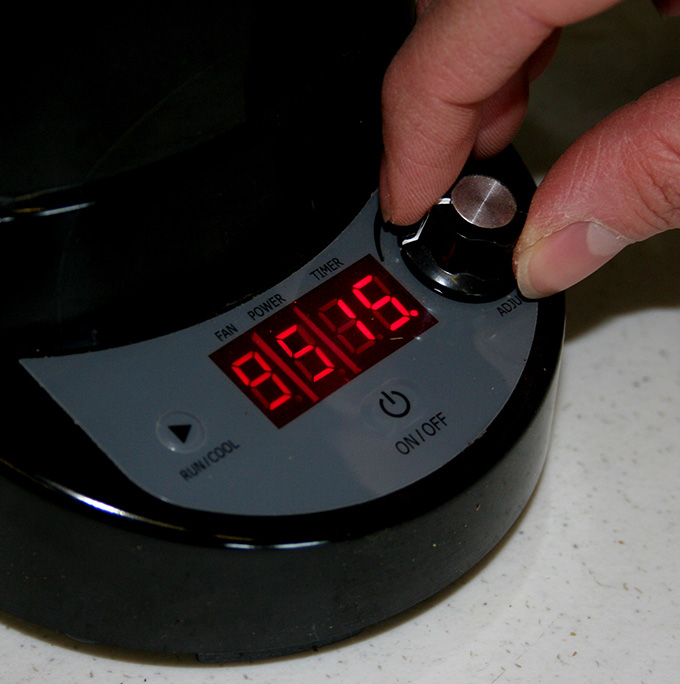
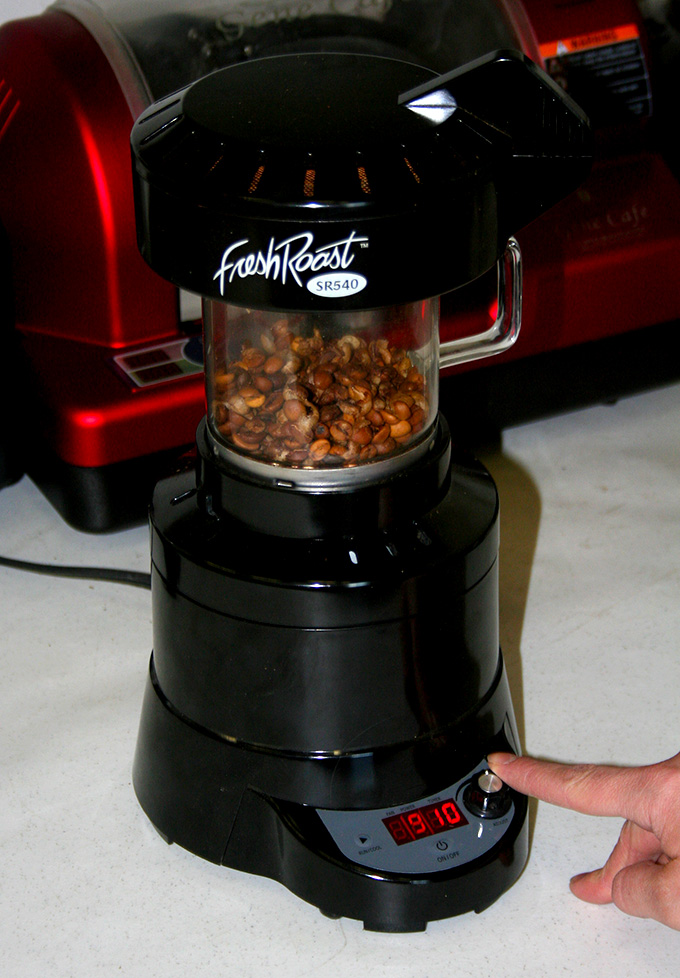
- The new improved control panel is very easy to use. Simply press the knob on the right, and one of the numbers – FAN, POWER, TIMER – will begin to flash. Turn the knob to increase or decrease that setting, or press the knob again to switch to the next setting. Turning the knob while none of the numbers are flashing will display the Temperature in the chamber (NOTE that this is air temp, not internal bean temp, but it still gives an approximate idea of how far along the roast has come). The same RUN/COOL button begins and ends the roast cycle.
- Begin with Fan Speed set to 9 and Power set to 5. Set the Timer for about 15 minutes. Total roast time should come in between 6 and 15 minutes dependent on settings. You may add time at any point by clicking the knob until Timer is flashing and then turning it clockwise; Fan and Power settings also may be adjusted at any time.
- Press the RUN button. Starting the roast with low temperature and high fan speed lowers moisture content and gets the beans moving; this will ensure an even roast. After approximately two minutes turn Power up to 9. As the roast progresses, coffee beans will begin turning over vigorously, especially after first crack. Turn the Fan speed down as needed; slower-moving beans will build heat to roast faster and more evenly.
- As coffee beans roast they will begin to brown, double in size and shed chaff, emitting a light audible “first crack.” Begin to pay close attention, watching for your desired roast level. For many coffees, we recommend a roast that ends shortly before second crack – beans will appear medium to medium-dark brown and the surface of the beans will begin to turn from dull/flat to a velvety sheen. This is within the range of “City Roast” to “Full City Plus Roast,” and is a good place to start for most coffees. When you are happy with the roast level, simply hit the COOL button to complete the cycle.
- Be aware that roasting goes much faster as you move into the dark end of the spectrum. “Second crack” occurs when internal bean oils and moisture expand from an exothermic reaction, producing a small hole in the bean and emitting a subtle crackling sound; this is the start of a dark roast. Sometimes second crack is very quiet, but if you see shiny oils on the surface of the beans, you are into the second crack – consider turning off the heat at this time, as beans will very rapidly darken beyond this point. If you see smoke coming from the roaster, you are well into the second crack and at a dark roast; definitely hit the COOL button now.
- DO NOT SKIP THE COOL CYCLE! This function not only stops the roast from continuing and cools beans enough that they may be handled, but also it is very important to allow the equipment to cool before beginning the next batch.
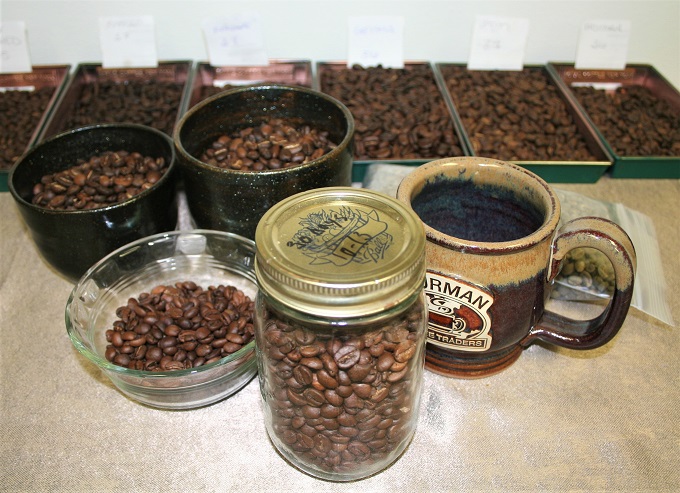
- After the cool cycle shuts off, remove the chaff collector (be careful – it may be still pretty warm), lift out the roast chamber by its handle and dump out the beans. Let freshly roasted beans sit in a glass or ceramic bowl to allow “set-up” for a day or two, then put them in an air tight container. We like to store the set-up roasted beans in a small canning jar.
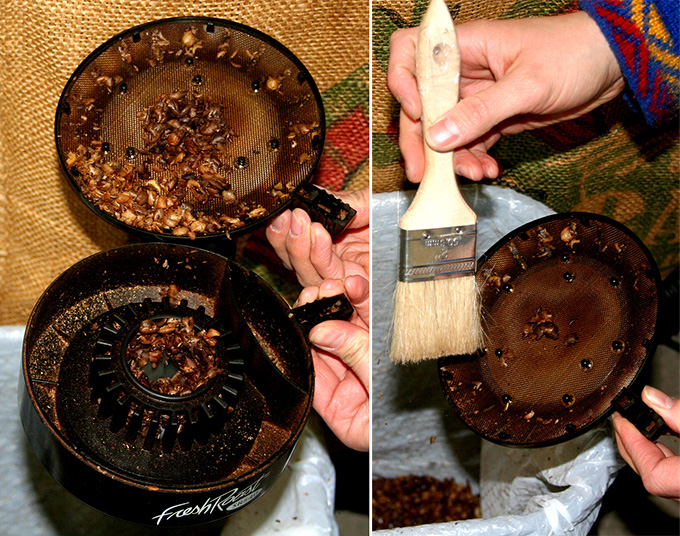
- The only cleaning necessary is to dump out the chaff from the chaff collector and wipe it out; a small basting brush works perfectly. This model yields about 28 cups per batch.
Follow roasting with a “set-up” rest period
Freshly roasted beans will be at their peak of flavor only after they have “set-up” for about 12-24 hours. This is due to necessary off-gassing of carbon dioxide that balances the acidic tones in the beans. Read our primer about roast styles to learn more.
What if roasts are too dark or too light?
Batch size is critical to the roasting process. In all air roasters, smaller batches roast slower and larger batches roast faster. It may seem counter-intuitive, but hot air flows more freely with fewer beans, meaning that less heat builds up in the chamber. If your roasts are too dark decrease your batch size to increase air flow or hit the COOL button earlier. If your roasts are too light increase your batch size to increase trapped hot air, or increase time and heat settings.
We recommend taking notes in a Roasting Journal, so that you can remember exactly what settings work best for each unique bean.
Not sure if you want it lighter or darker? Read our primer about roast styles if you would like to experiment with different roast levels.
More Coffee Roaster Tips:
All roasters are sensitive to your home voltage, so it helps to identify a circuit that will not be used by any other appliances while you are roasting. This also means that roasting times may vary slightly from one batch to the next, so be sure to watch carefully, especially with a new roaster.
Keep in mind that these are home roasters not intended for commercial-scale use. It is very important to let them cool down between batches or you may trigger the thermal protection safety features, which require the roaster to be reset by the manufacturer and may void the warranty.
If you want to stop the roast at any time, just hit the COOL button. It is inadvisable to switch the roaster off, as it will be very hot and it will require a cool cycle before handling. We cannot emphasize it enough – the cool cycle is very important to maintaining the longevity and effectiveness of your FreshRoast SR540.
Never leave any roaster unattended. Think of home coffee roasting as similar to frying bacon – it can and will burn if you walk away from it!
Details & NEW Video Guide to FreshRoast SR540
Want to learn more about Green Coffee before diving in? Follow these links:
- What is Green Coffee? What are Green Coffee Beans?
- Read our article on understanding the Taste Characteristics of Good Coffee: How do Burman Coffee Traders evaluate coffee beans from growers all across the world? What are the characteristics we use to judge quality and how do we ensure a wide variety to suit many different tastes?
- Choosing Premium Green Coffees: Our recommendations for beginning to explore our diverse selection: Try our 3 lb Bundles and Coffee Sales.
- Learn about different roast levels and the wide Spectrum of Roast Styles and how to achieve them.
- Learn how the the taste and roast characteristics of each unique green coffee are affected by the terroirs of Growing Regions, specific Strains or Cultivars, and the Processing Methods used after harvesting.
Ready to get started with Roasting Coffee?
- Home Coffee Roaster Reviews & Recommendations
- FreshRoast SR540 – Perfect for Beginners
- Tips & User Guides for All Roasters
- SEE OUR FULL COFFEE LIST
- SALE! Green Coffee Beans Specials


Three questions; with the SR540 do you hit the cool button just before the timer ends if in fact, you are satisfied with the roast(color)?
What is the preferred amount of this type of ground coffee for a drip style coffee maker?
Chafe residue amonst finished/roasted beans ok to just grind with beans?
Happy to help.
1.) Yes, as soon as you deem the roast color to be good, hit the cool button. The timer can be adjusted on future batches to end more on time. Good to turn back up the fan speed once it is in cool mode as well. If you roast too dark, the coffee can get bittersweet and smoky.
2.) Amount of grinds is variable, if you like strong coffee, most come close to a tablespoon per cup. Usually if brewing over 6 cups, I tend to chop off a scoop or two. If only brewing 1-5 cups, I might go a little over a tablespoon per cup.
3.) A little chaff on the beans will not hurt anything for drip brew. French Press too much chaff and some can bypass the screen and end up in the cup, lots of chaff is not perfect for espresso either, can channel the water through the puck. Slowing down the roast a little or pushing the roast just a little farther can often rid the coffee of much more chaff.
What happens to all the smoke that is usually produced with roasting coffee? I currently have to roast my coffee outside as the smoke produced is toxic and obnoxious.
If you don’t have a good exterior vent hood, outside is the way to go!
While I enjoy the ease of the SR540, I’m disappointed I will have to replace soon after only a year. I noticed a crack where the roasting chamber goes after seeing caffe blow out the bottom of the chamber. Other than this the unit delivers a tasty roast and is easy to navigate.