
As a coffee aficionado, you may not think twice about splurging on your coffee-making paraphernalia. That’s because a flavorful cup of brewed coffee is just that important to you. Your coffee-making arsenal may include a high-quality blade or burr grinder. Many believe coffee grinders are the most important tool for brewing great-tasting coffee. If you invest in a superior coffee grinder, you expect it to not only help produce a flavorful cup of coffee but to have a reasonable lifespan. You can do your part by maintaining a clean coffee grinder.
Why is it important to keep your coffee grinder clean?
When brewing coffee, you have high taste expectations. Grinding coffee beans with a clean grinder helps ensure your expectations are met after that first sip. Without regular cleanings, oil and coffee grind buildup can negatively affect the taste of your coffee.
Darker roast coffee beans may have oilier surfaces, but all coffee beans contain oils despite the roast level. These oils are released when the beans are ground and can build up over repeated grindings. Over time, this oil buildup can go stale and rot. This oil can transfer to the grinds and affect the taste of your brewed coffee.
If you are a coffee lover, it’s likely you have different roasts and flavors of coffee beans on hand. When reaching for different coffee beans, you want to make sure your coffee grinder is clean. Using an unclean grinder will result in a less-than-pure cup. The previous beans’ grinds and oils can get mixed in with the new beans, tainting the flavor.
Cleaning is especially important for those who choose to grind spices using their blade grinder. Mixing ground spices in with your coffee will brew a less than desirable cup of coffee.
Just as important is how buildup can affect the operation and lifespan of your coffee grinder.
In fact, the buildup can result in uneven grinds, damaged burrs, and eventually lead to the grinder’s motor burning out.
Now you may be wondering how to clean your coffee grinder.
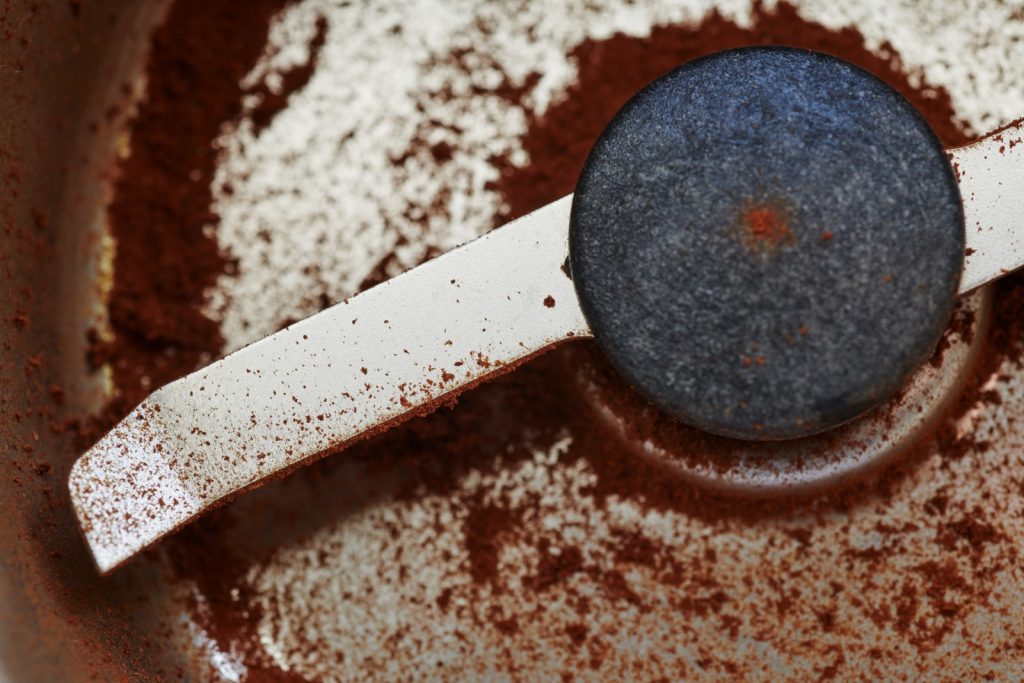
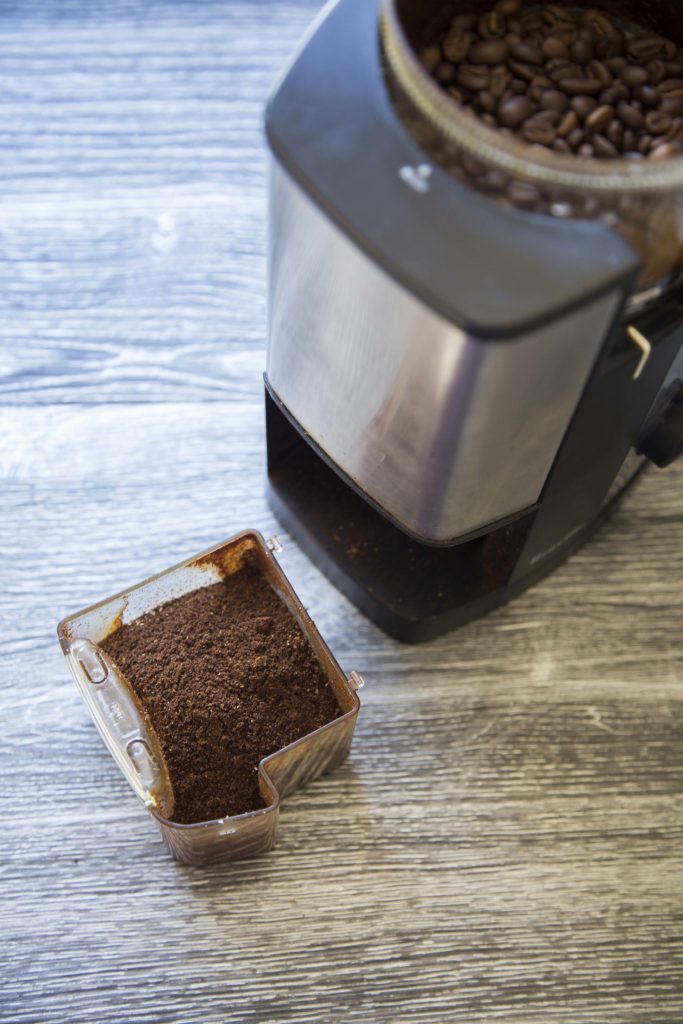
You may shake out your grinder after grinding a batch of coffee beans and think it looks relatively clean. At first glance, it may look clean because most of the leftover grinds are gone. However, the blades or burrs and the hopper likely have oil buildup.
How you clean your grinder will depend on whether you have a blade or burr grinder.
Rice is an affordable cleaning agent for blade grinders:
- Put dry uncooked rice in the grinder. Use about a quarter cup or enough rice so that the blades are covered. Make sure to use instant or par-boiled rice as regular rice is harder and may damage the grinder’s blades.
- Run the grinder for about a minute.
- Pour out ground rice kernels. If you still notice coffee residue or oil remaining, consider grinding another batch of rice. You may notice the ground rice sticking to the blades. The oil buildup on the blades causes this.
- When you are done grinding the rice, unplug the grinder. Wipe inside of the grinder hopper and lid with a slightly damp cloth or paper towel. If you notice an odor, you may try wiping the inside of the hopper with a paper towel or cloth dampened slightly with vinegar.
You can use rice to clean your blade coffee grinder weekly or monthly depending on the frequency at which it is used. At the very least, clean your blade grinder once each month.
On the other hand, deep cleanings for burr grinders can be a bit more labor-intensive.
Cleaning burr grinders can be more complicated because of the different moving parts. For more frequent light cleanings, using a soft towel or brush on these parts can suffice.
You can deep clean your burr grinder less frequently – about once per month.
The construction of burr grinders are generally the same but can differ slightly depending on the model. Because manual and electric burr grinders have the same basic mechanics, the cleaning process should generally be the same.
- Remove the grinder’s hopper. This is the receptacle that holds the roasted coffee beans. You should handwash the hopper and its lid with mild soap and water.
- Run the grinder for a short time to remove any remaining coffee grinds in the burrs.
- Unplug the coffee grinder.
- Locate all the removable plastic or rubber pieces that are exposed to the coffee beans in the grinder. Remove these pieces and handwash them thoroughly with mild soap and water. Use a small brush if necessary.
- Carefully remove the inner burr. You may need to use a tool to remove it.
- Using a brush, wipe away any coffee particles stuck in the inner and outer burrs. A wooden toothpick may come in handy to remove coffee stuck in any of the burrs’ crevices.
- To be extra thorough, you can use a vacuum with a hose attachment to get to those hard to reach coffee particles. Before turning on your vacuum, be sure there aren’t any loose pieces or screws around.
- As a final cleaning step, wipe down the burrs with a soft slightly damp towel. This will not only remove any remaining particles but it will also clean away any residual oils. Don’t forget to clean the chute leading to the coffee bin. A cotton swab is a perfectly sized tool for this task.
- The burr coffee grinder is ready to be reassembled once all the parts are fully dry. It is important that all parts are completely dry to avoid any corrosion or rust on the burrs or motor.
- After reassembly, grind a small amount of coffee. This will help to adjust the upper burr back into place. Also, grinding the coffee will release oils that lubricate or “season” the burrs to help prevent rusting.
Using cleaning tablets is an alternative method for cleaning burr grinders.
As the cleaning tablets run through the burr grinder, they pull along any grinds or oils with them.
Follow these steps to use the cleaning tablet method:
- Unplug the burr grinder.
- Wipe away as much coffee and oil residue as possible using a soft brush and slightly damp towel.
- After plugging the grinder back in, run the grinder for a short period to remove any remaining coffee in the burrs.
- Based on the directions on the cleaning tablets package, pour the recommended amount into the hopper.
- Run the grinder until all the cleaning tablets run through the burrs and into the catch bin. Running at a medium grind level should suffice.
- Grind two smaller batches of roasted coffee beans to clean out any cleaning tablet residue left in the burrs.
If you choose to use cleaning tablets, use them to clean your grinder every few weeks. This will keep your grinder running smoothly and allow you to enjoy optimal tasting coffee.
Ultimately, the frequency of deep cleanings will depend on how often you use your grinder. At the very minimum, follow the manual or cleaning tablet method every three months.
Some things to be aware of when cleaning your grinder:
- Be sure not to use rice to clean your burr grinder. The grains are too hard and may cause damage to the burrs or motor. In addition, the starch may cause unwanted buildup on the burrs.
- Do not run any part of the grinders (blade or burr) under running water or use any sprays as you run the risk of ruining the motor or cause rusting.
- Cleaning more frequently with a soft brush or cloth will minimize the buildup of leftover coffee and oils. When the time comes to do a deeper cleaning, it will take less elbow grease. Most importantly, it will keep your grinder running smoothly and your coffee tasting just as you dream about.
- Always refer to the burr or blade grinder product manuals for cleaning and disassembly instructions. Be aware of your grinder’s warranties and make sure the cleaning methods you choose do not void them.
Celebrate a clean coffee grinder with a pound or two of our green coffee beans. For tips on roasting your coffee beans at home, review our Ultimate Guide to Home Roasting Coffee Beans.


How can I clean the glass container on my Fresh Roast coffee roaster?
I usually use dish soap and a metal scrubby. Helps to soak it for a bit first. Careful they are pretty fragile. Oven cleaner products also work well but generally are pretty caustic products, make sure to rinse incredibly well if using them. Generally non-caustic is recommended.