Now that you have roasted your coffee perfectly, how can you be sure to get the best taste when you brew it? Consider these factors:
Types of Coffee Brewing Equipment
Auto Drip, Espresso, French Press, Pour Over, Percolator… there are no right or wrong answers, just different methods for different preferences.
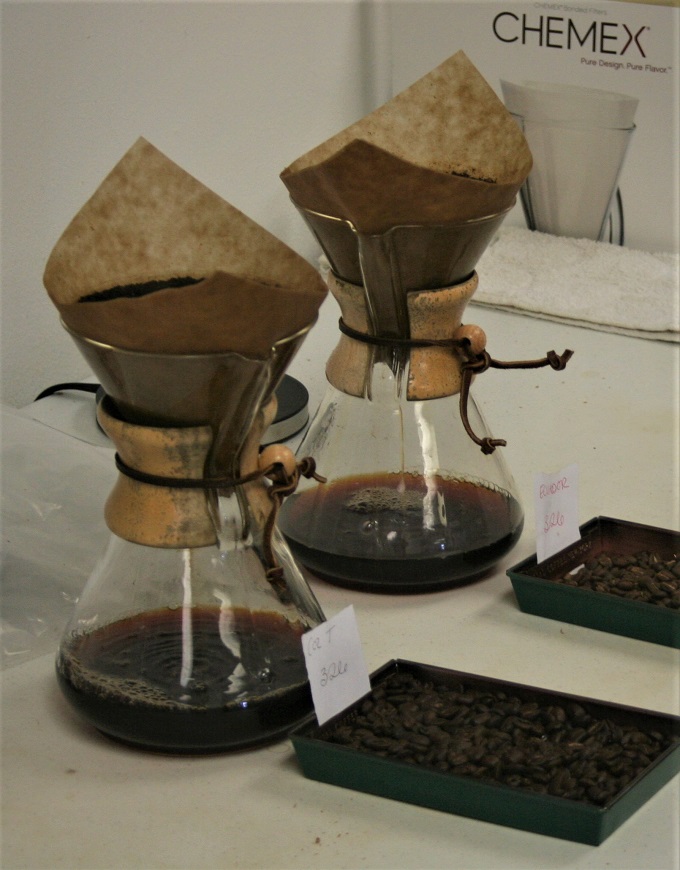
We love the Chemex pour-over coffee brewer, and so many of our customers do too. This specially-designed one-piece glass flask is stylish, easy to use, and it makes a stellar pot of coffee, very clean and very quick. Their special paper filters are designed to trap most of the bitter elements in coffee, and all of the larger sediments, making a cup that is clear and consistent. This video shows how it works!
Or try the amazing AeroPress – make a single serving of strong espresso coffee without any fancy equipment! The secret is simple, a combination of a hand-plunger and a thick filter that creates just the right amount of resistance to make a high-pressure extraction. It takes some elbow grease, but less contact time with the grounds produces a cup with the rich body and lower acidity that everyone loves about espresso – definitely very satisfying! – without any expensive machines or dangerous steam.
Kenneth Davids, author of Home Coffee Roasting: Romance and Revival and editor of coffeereview.com says “When used properly, AeroPress produces a better espresso shot than many home machines that cost twenty or thirty times as much.” If you are an espresso lover, you will be very impressed by this fantastic specialty coffee-maker – check out the AeroPress!
Whatever brewing method you prefer, always be sure that all equipment is cleaned thoroughly. After each use, rinse your equipment with hot water and dry it with an absorbent towel. Check that no grounds have been left to collect on any part of the equipment and that there is no build-up of caffeol, coffee oils. Such residues can impart a bitter or rancid flavor to future cups of coffee.
(Check out all our Coffee Makers here)
Grind:
Next you will want to be sure that you have the right grind for the brewing method. Over or under extracting can cause your coffee to taste bitter or flat. Use a much more consistent and effective burr grinder instead of a blade grinder, if possible. We have created a guide so that you can learn about the recommended grind level for your equipment, and adjust your grinder accordingly.
Water:
The water in your coffee is very important, second only to the coffee itself! Unpleasant strong odors or tastes like chlorine can ruin a nuanced cup of specialty coffee. Use filtered or bottled water if possible. If tap water is your only option, let it run for a few seconds before filling your coffee pot and use only cold water. To eliminate chlorine odors completely, you may leave tap water in an open pitcher for a few days and chlorine will gradually evaporate out. Do not use distilled water or softened water – naturally-occurring minerals impart subtle flavors in water, and water without them is noticeably dull-tasting and unsatisfying.
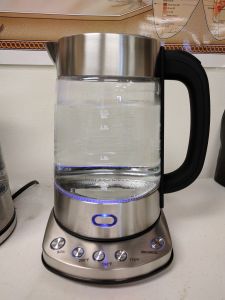
Ideal water temperature is between 195-205°F. Get a variable-temperature kettle or just use a thermometer to check your water temperature. Or remember the general rule that water reaches its max boiling point at 212°, so when water begins to boil just take it off the heat and let it stand to cool for a little less than a minute and it should be within the ideal temperature range.
Brewing Strength:
In general, use 1-2 tablespoons of ground coffee for every 6 ounces of water, or 5-10 grams in every 175 milliliters. Please note that using metric weight measurements is always more accurate than old-fashioned volume measurements like tablespoons – but since everyone has different tastes, it seems fine to generalize “a little more than one tablespoon” of grounds for one medium-sized mug of coffee. To make a full pot of coffee in a 10-cup Chemex, we recommend about 10 tablespoons (40-55 g) of fresh grounds into up to 50 ounces (1500 mL) of water.
Always consider your brew method – french press and percolator require less grounds than auto-drip or pour-over – and adjust to suit the specific coffee beans and your personal taste preferences. Whatever your strength preference, for the most consistent results be sure to always weigh your grounds using a digital scale, and keep notes in your Roaster’s Journal. You will have to experiment to find the sweet spot for each unique bean, but with experience you will begin to notice regional tendencies. For example, we often use about 20-30% more grounds when brewing mild Hawaiian coffees. Additionally, many home coffee roasters prefer to use less grounds for high-acid light roasts (like Kenyans) or more grounds for thick-bodied dark roasts (like Indonesians).
Brewing Time:
The amount of time that the water is in contact with the coffee grounds is another important factor affecting the taste of your coffee. Of course, different brewing methods require different brewing times. In a drip system, the contact time should be approximately 5 minutes, but for a french press it should be limited to just 2-4 minutes. For espresso, coffee grounds are in contact with pressurized steam for only 20-30 seconds, whereas cold brew will usually steep overnight, 12 or more hours. If the taste of your coffee is not optimal, it is possible that you are either over-extracting (brew time too long, will tend to taste bitter) or under-extracting (brew time too short, will tend to taste flat). Experiment with contact time to find the cup that suits your tastes perfectly.
One Last Tip:
NEVER reuse coffee grounds. Once brewed, the desirable coffee flavors have been extracted and only the bitter undesirable stuff remains. But if you like to avoid waste, one great way to utilize depleted coffee grounds is as nutrient-dense and easily decomposed fertilizer. It is very beneficial to potted plants or garden beds; wet grounds may be sprinkled directly on top of soil, or mixed in with other compost.
More Recommendations:
- Tips: Perfect Your Skills with a Roaster’s Journal
- Tips: Roasting Better Coffee
- Tips: Grinding Better Coffee
Ready to get started?
- More Home Coffee Roasting Primers
- SEE OUR FULL LIST of Green Coffees
- SALE! Green Coffee Beans Specials
Please explain robusta coffee
It is a different strain of coffee. More disease resistant, higher caffeine levels, grows at lower altitudes. Many tongues do not like the taste of them as much, they are generally low acidity, thick and earthy/spicy coffees.